What a thrill it was for me to receive his letters. I'd make a mad-dash for the mailbox every day after school. I also enjoyed writing him, painstakingly rereading each sentence to be sure that it was perfectly worded. I'd write many rough copies before carefully penning the final draft. We wrote each other dozens of letters. He'd usually call on Saturday nights, at first twice a month and then weekly. I'd wait by the phone for his call. Our phone conversations went from 20 minutes long to 2 hours long, and at times, unbeknownst to my parents, 5 hours long. We simply never ran out of things to talk about, covering every imaginable topic. Oh, how he could make me laugh! No matter what mood I was in when our conversation began, he'd have me laughing by the end of it. Gradually our letters and our conversations became more and more affectionate. He began to make surprise visits up to see me and a few times even came by to pick me up after school (with my little brother, the appointed chaperone, at his side). Three months after our Six Flags outing, during one of his visits, as we stood together on the front porch saying goodbye, he whispered, "I love you." By the time my 15th birthday rolled around he'd become a part of our family and my parents were as in love with him as I was. When I reminded my father of his stipulation 1 yr. prior, he seemed to have forgotten all about it. In May of 1998, when I was 16 yrs old, he took me (and our chaperone) to the Houston Galleria, a cherished spot for both of us. There, with swarms of people walking by, he knelt down on one knee and holding out a red, heart shaped velvet ring box said to me, "I want you to be my wife." I cried, and could only nod my head yes, as he stood and hugged me tight. We were two children so deeply in love, not knowing what life had in store for us, but knowing without a doubt that we wanted to be together always. On June 25, 2000, one month after I graduated from high school, we were married.
It's been 15 years since that warm summer evening in March. The awkwardly spoken words of two timid teenagers marks the beginning of a beautiful relationship, that defying all odds, has stood the test of time.
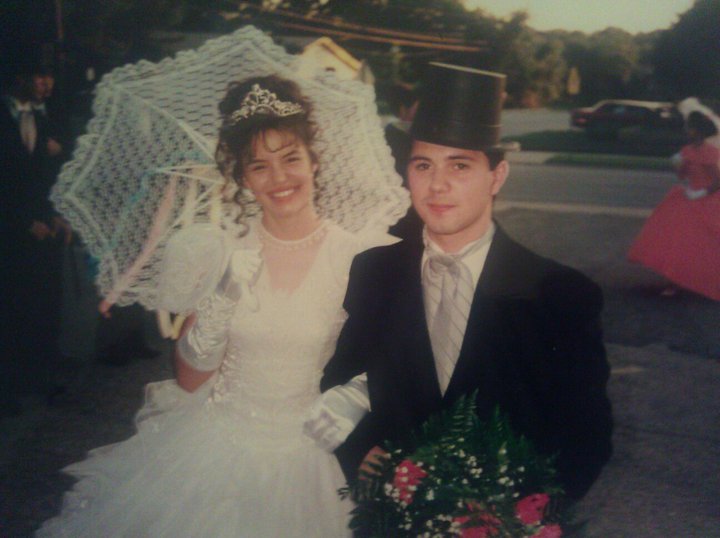
This is a picture of us, the hazel-eyed boy and me, at my Quinceañera celebration (a coming out party celebrated in the Latin American culture when a young lady turns 15).
I wanted to share our story with you so that you could better appreciate how meaningful the following collection of frames is to us.

Before I go into further detail about what we carefully chose to place in each frame, I'd like to give a few guided instructions on how we arranged and hung this gallery for those of you who might be interested in displaying a similar arrangement in your own home.
My arrangement inspiration came from this collection of frames found above Sherry and John Petersik's console table, as seen on their amazing site Young House Love. (This is actually the entryway of their previous home.) I visit this site first thing when I sit at my computer every day. I love it!

As Sherry cleverly classifies it in this video (which I recommend if your looking for inspiration and guidance in hanging your own frames), this arrangement is symmetrical with a twist. We wanted a relaxed yet formal look; structured fun is what I call it. There are many great tutorials out there on how to hang a collection of frames, and after doing a little research, I felt confident enough to tackle the project, taking bits and pieces of what I'd read and doing a little improvising along the way. (please excuse the fuzzy and ill-lit pictures)
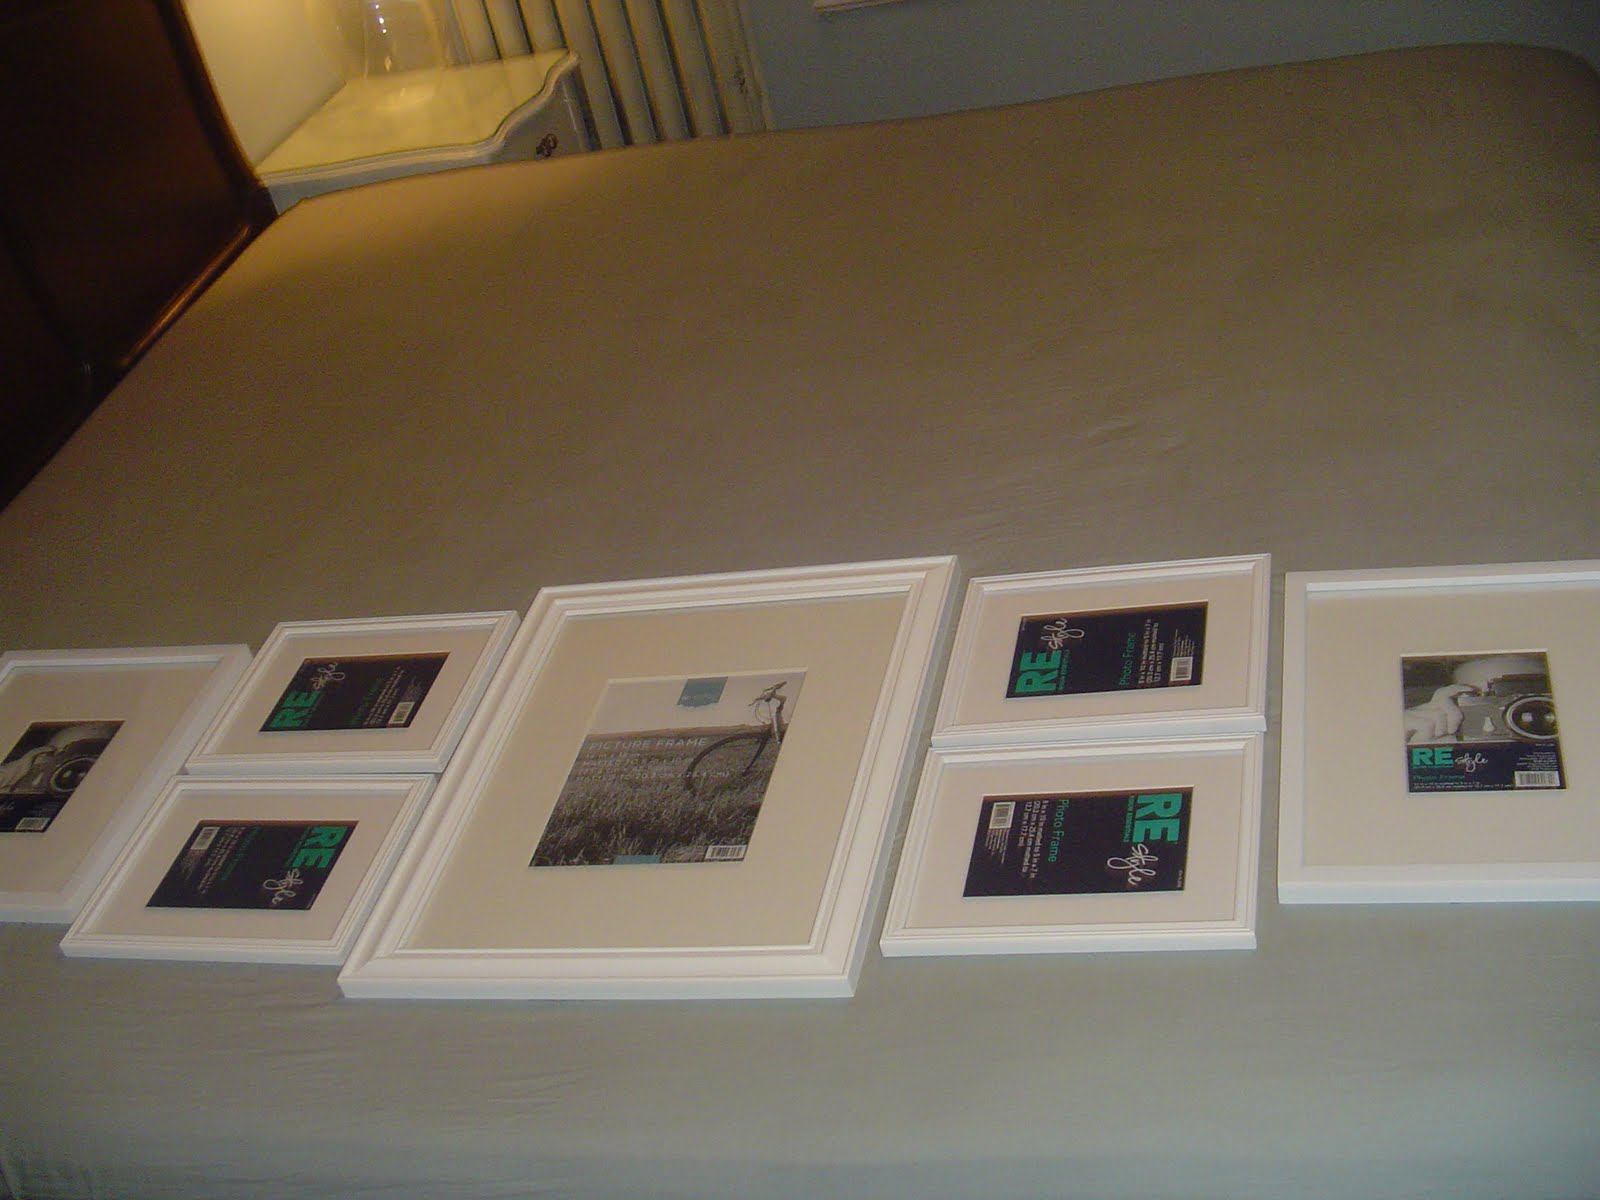
1. The first thing I did was lay the frames out to be sure I liked the way the arrangement looked and to determine exact placing. Although I already had a very defined idea of the placement in my head and had lay the frames out on the floor of the store aisle before purchasing them (yes, I'm "the weird, crazy lady with the poor, embarrassed husband by her side"), I wanted to be sure I was satisfied with the way the arrangement was going to look. When you lay the frames out, decide on the spacing width you'd like to use between each frame. (For those of you who are as forgetful as I, write the space measurement down for future reference.)
2. I then numbered each frame, writing the number in pencil on the back. I did this after noticing that the frames, even the matching ones, had the hardware spaced differently on the back.
3. Next, I cut sheets of paper to match the size of each picture frame (taping two sheets together for larger frames) and wrote the number on the paper that corresponded with the matching frame.
4. I lay each paper over the back of each corresponding frame and marked the location of the hardware, making a pencil mark exactly where each nail would need to be placed.

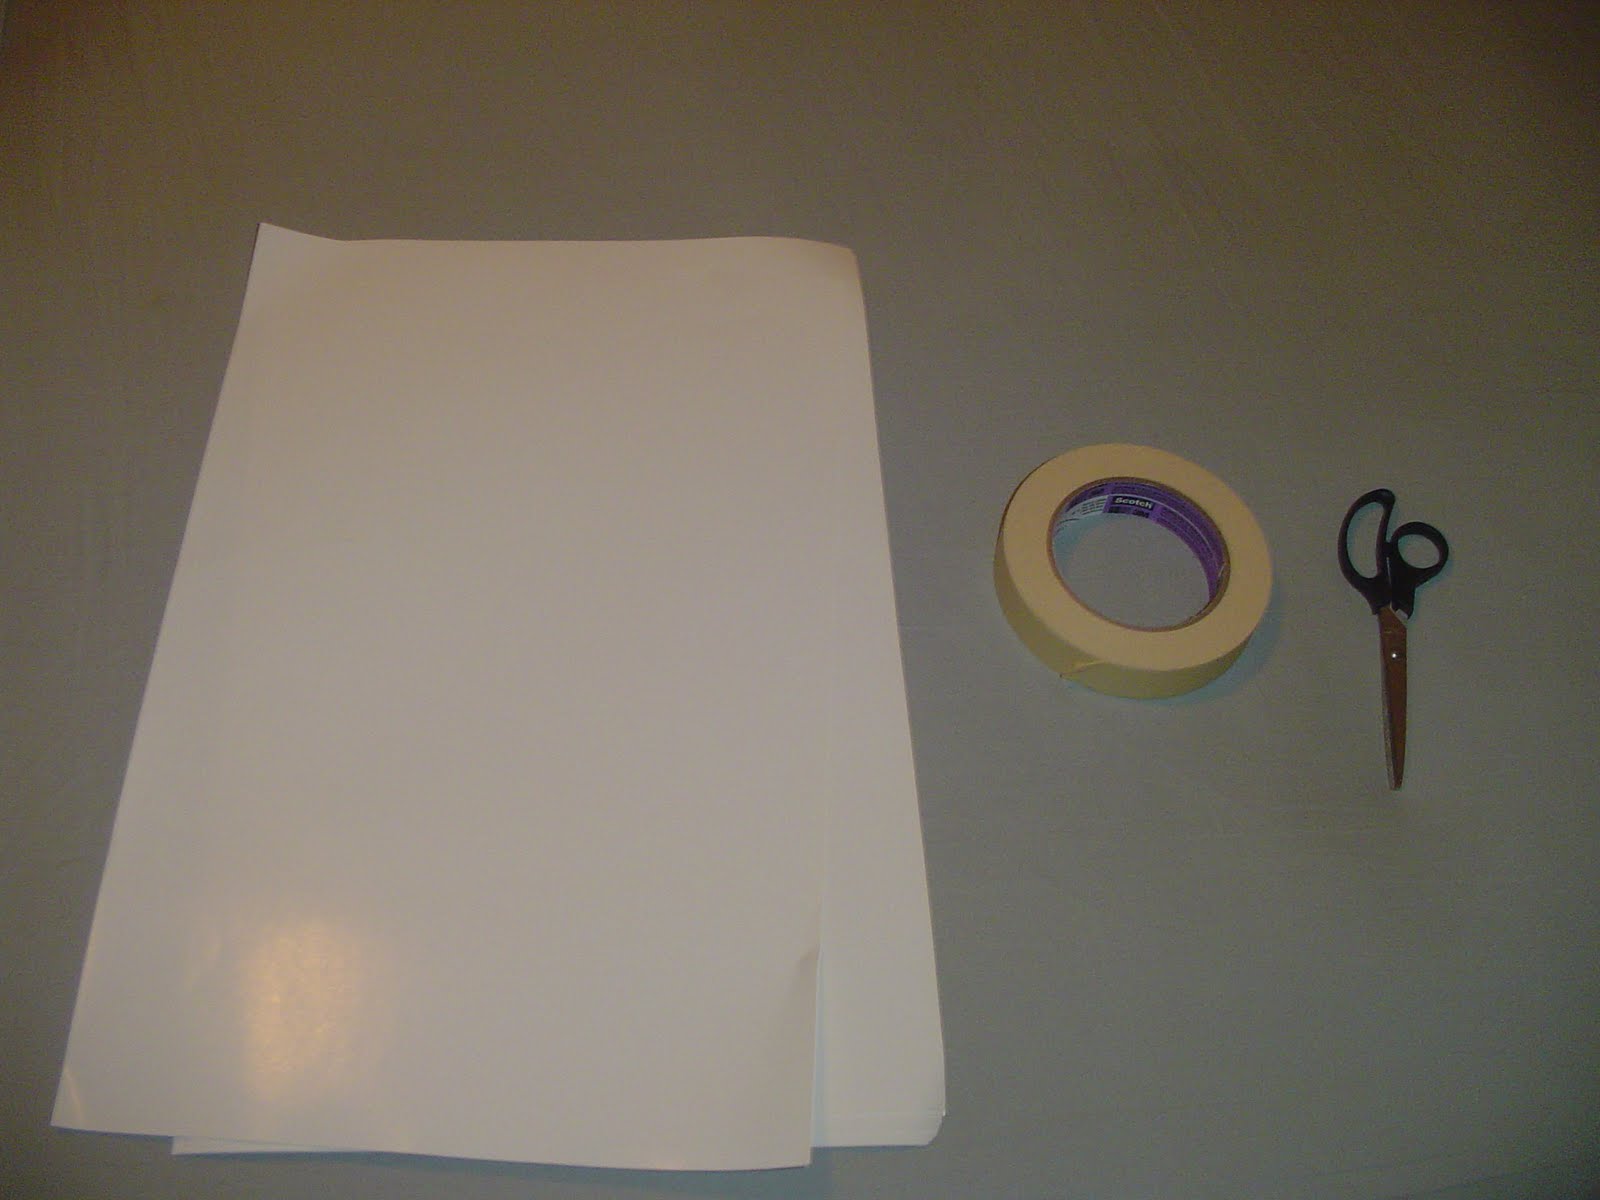
5. After I had every sheet of paper labeled and marked, I was ready to begin measuring and placing the sheets of paper on the wall. These are the supplies I used for the next few steps.

It is important to first determine if you are going to center the arrangement over a focal point in the room or with the wall itself. Due to the

Being the perfectionist that I am, it bothered me to no end that, because of the air conditioner, the arrangement would appear unbalanced. I eventually decided to ignore the air conditioner all together, knowing that whatever we decided to put on that wall would be adversely affected by it's placement. I simply moved the bed and nightstands as far to the right as I could and centered the arrangement above the bed. Because I had a limited amount of space on the left due to the air conditioner, I had to make the space between each frame a lot smaller than I originally intended.
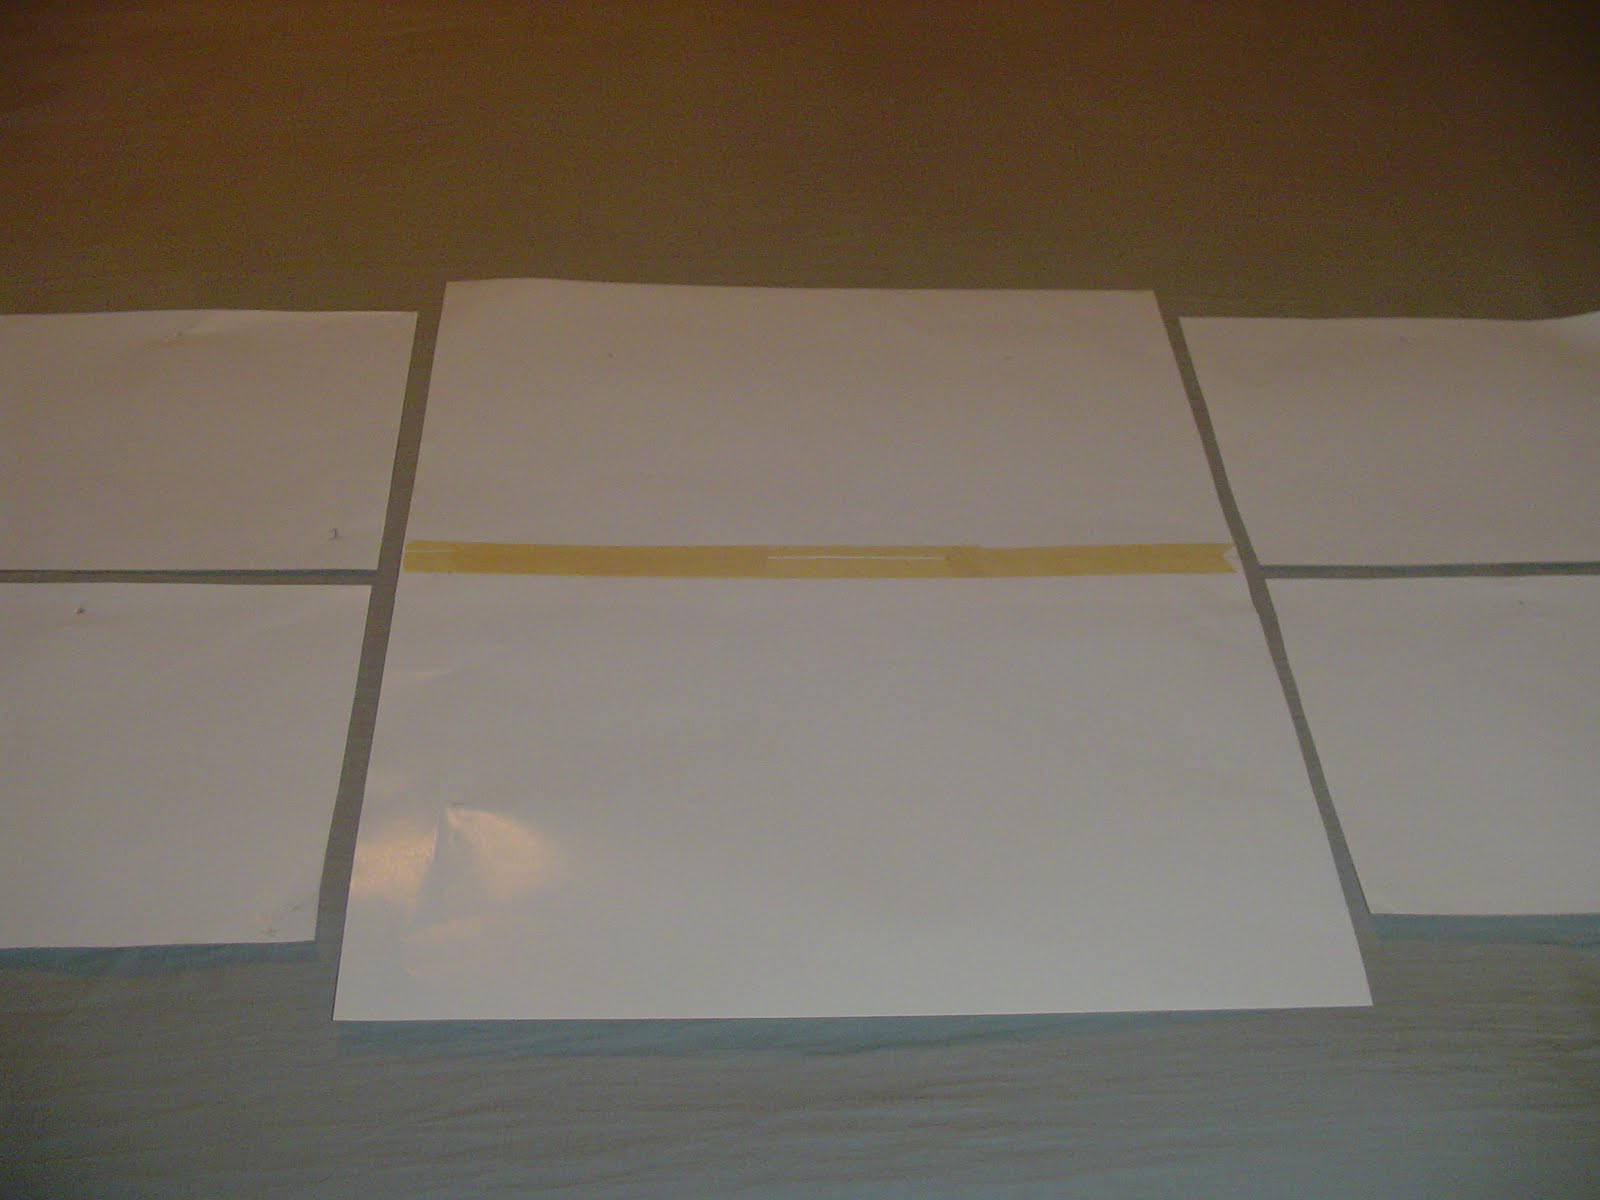
6. Once you've decided how your going to center the arrangement, measure and place the sheet of paper for the the large middle frame first, being sure to put the marked side of the sheet forward-facing. Be sure to use painters tape to keep from damaging the paint on your wall. Use the level along the top edge of the paper to ensure that it is straight. When the placement is just right, apply pressure to the tape to secure the sheet of paper to the wall. You don't want the paper moving out of place as you begin measuring and placing the other sheets. Once the sheet of paper for the large middle frame has been taped to the wall, use a ruler to find the middle of the frame, measuring vertically, and work your way out from there. Remember to use the level to keep the papers straight.
(Instead of writing a wordy explanation, I hope this picture will help you understand the quickest and most accurate way to measure out and place the sheets of paper. I spaced my frames 3/4in apart due to space constraints caused by the placement of our air conditioner. )

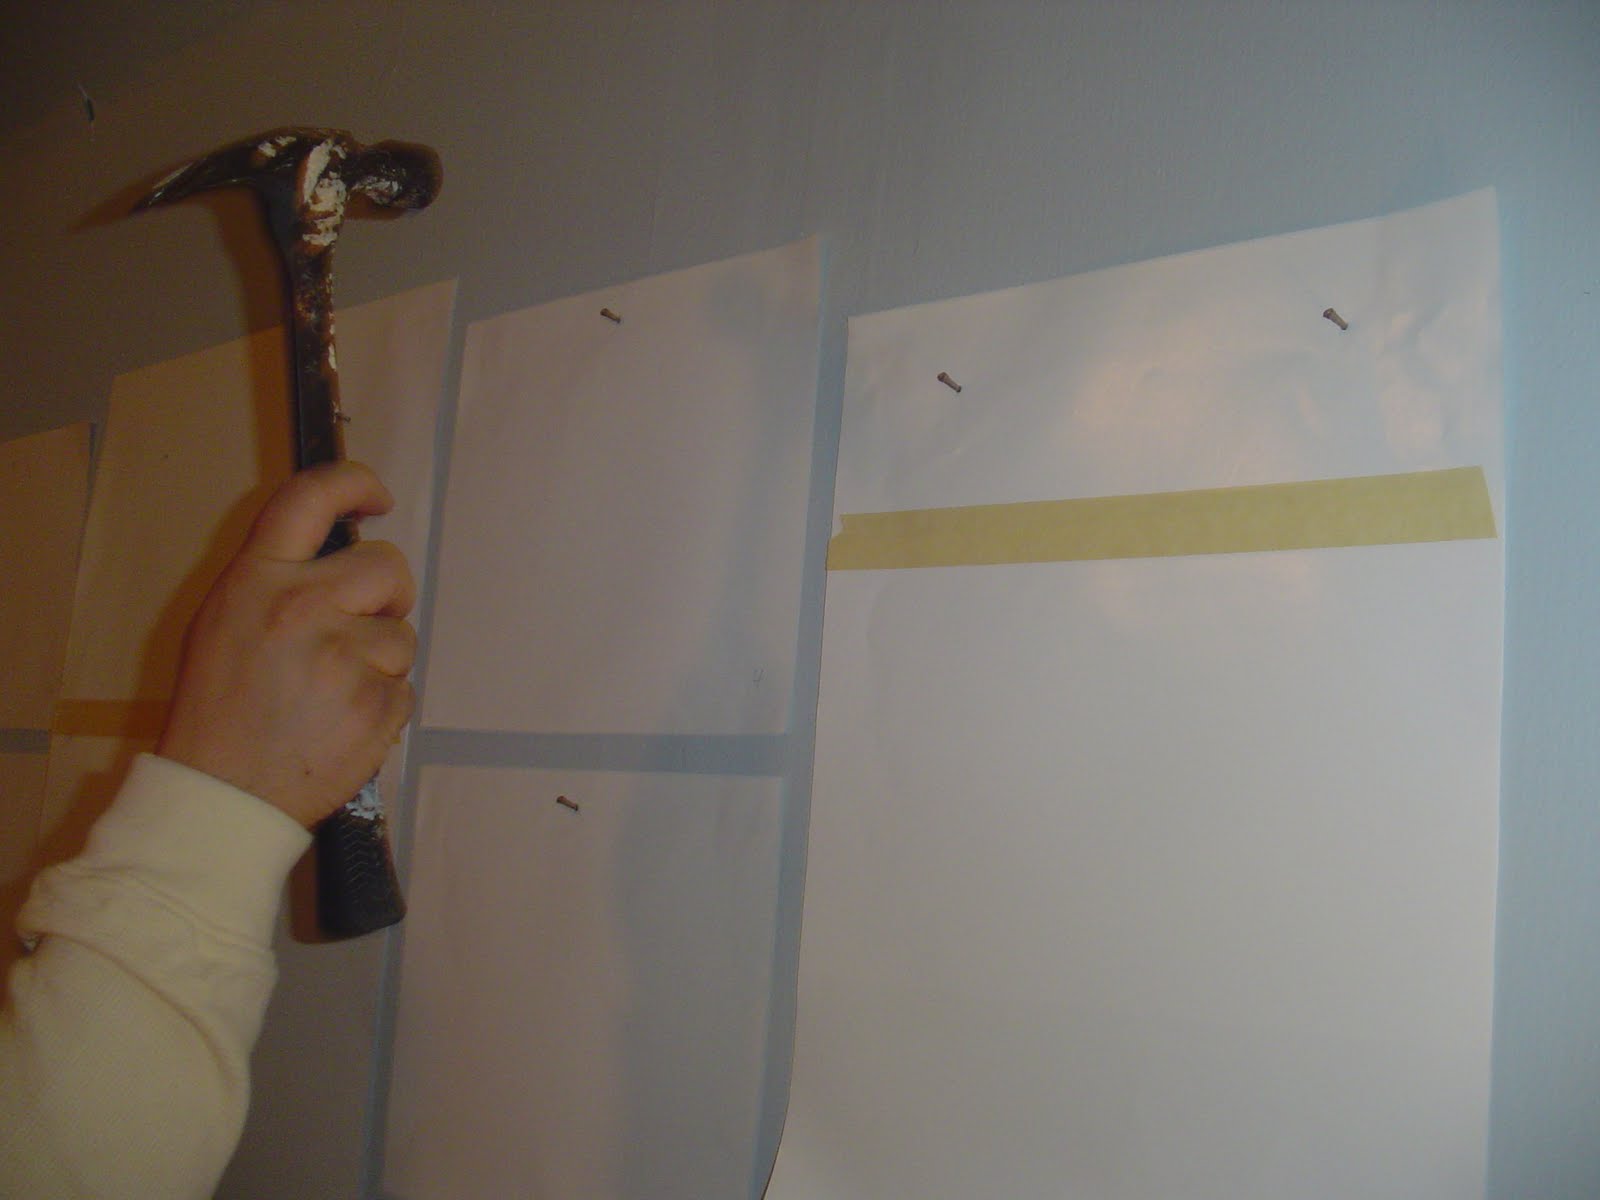
8. When you've nailed all the nails, rip off each sheet and hang the corresponding frame in it's place. I highly recommend you do one at a time (remove the sheet of paper and place the corresponding frame) so you will not lose track of which frame goes where.

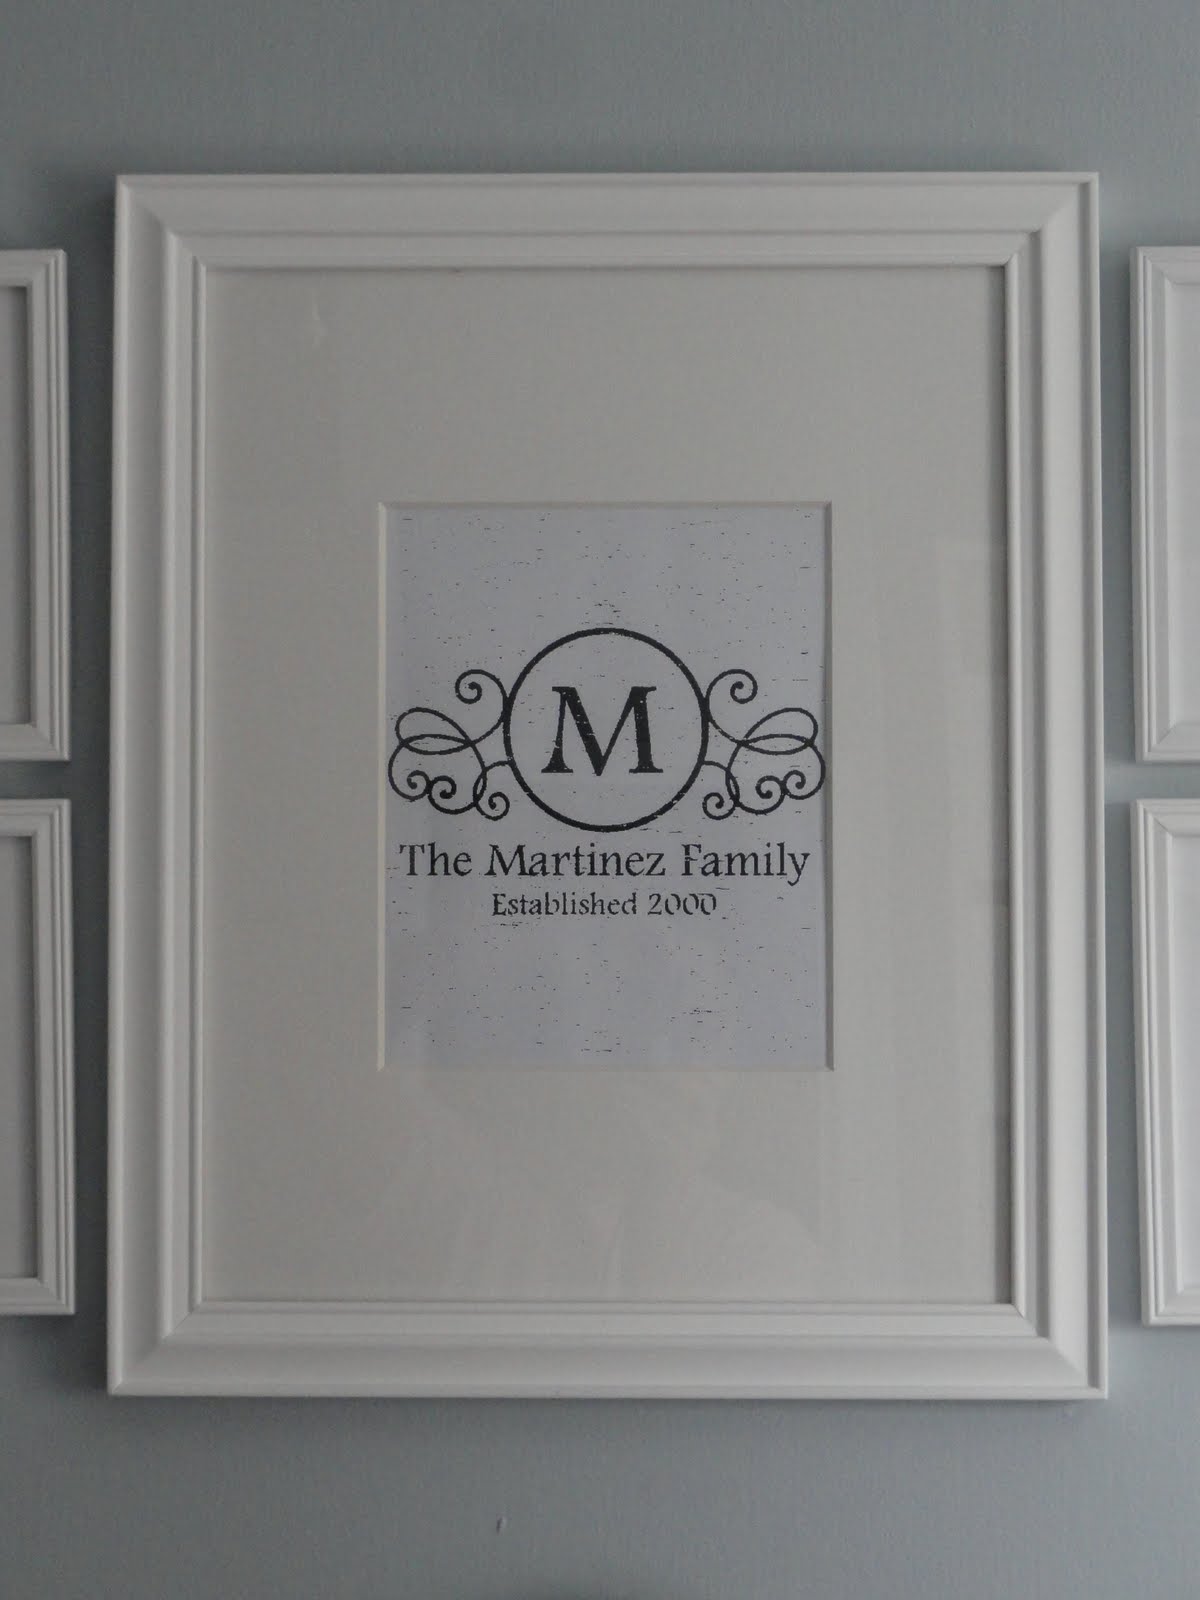
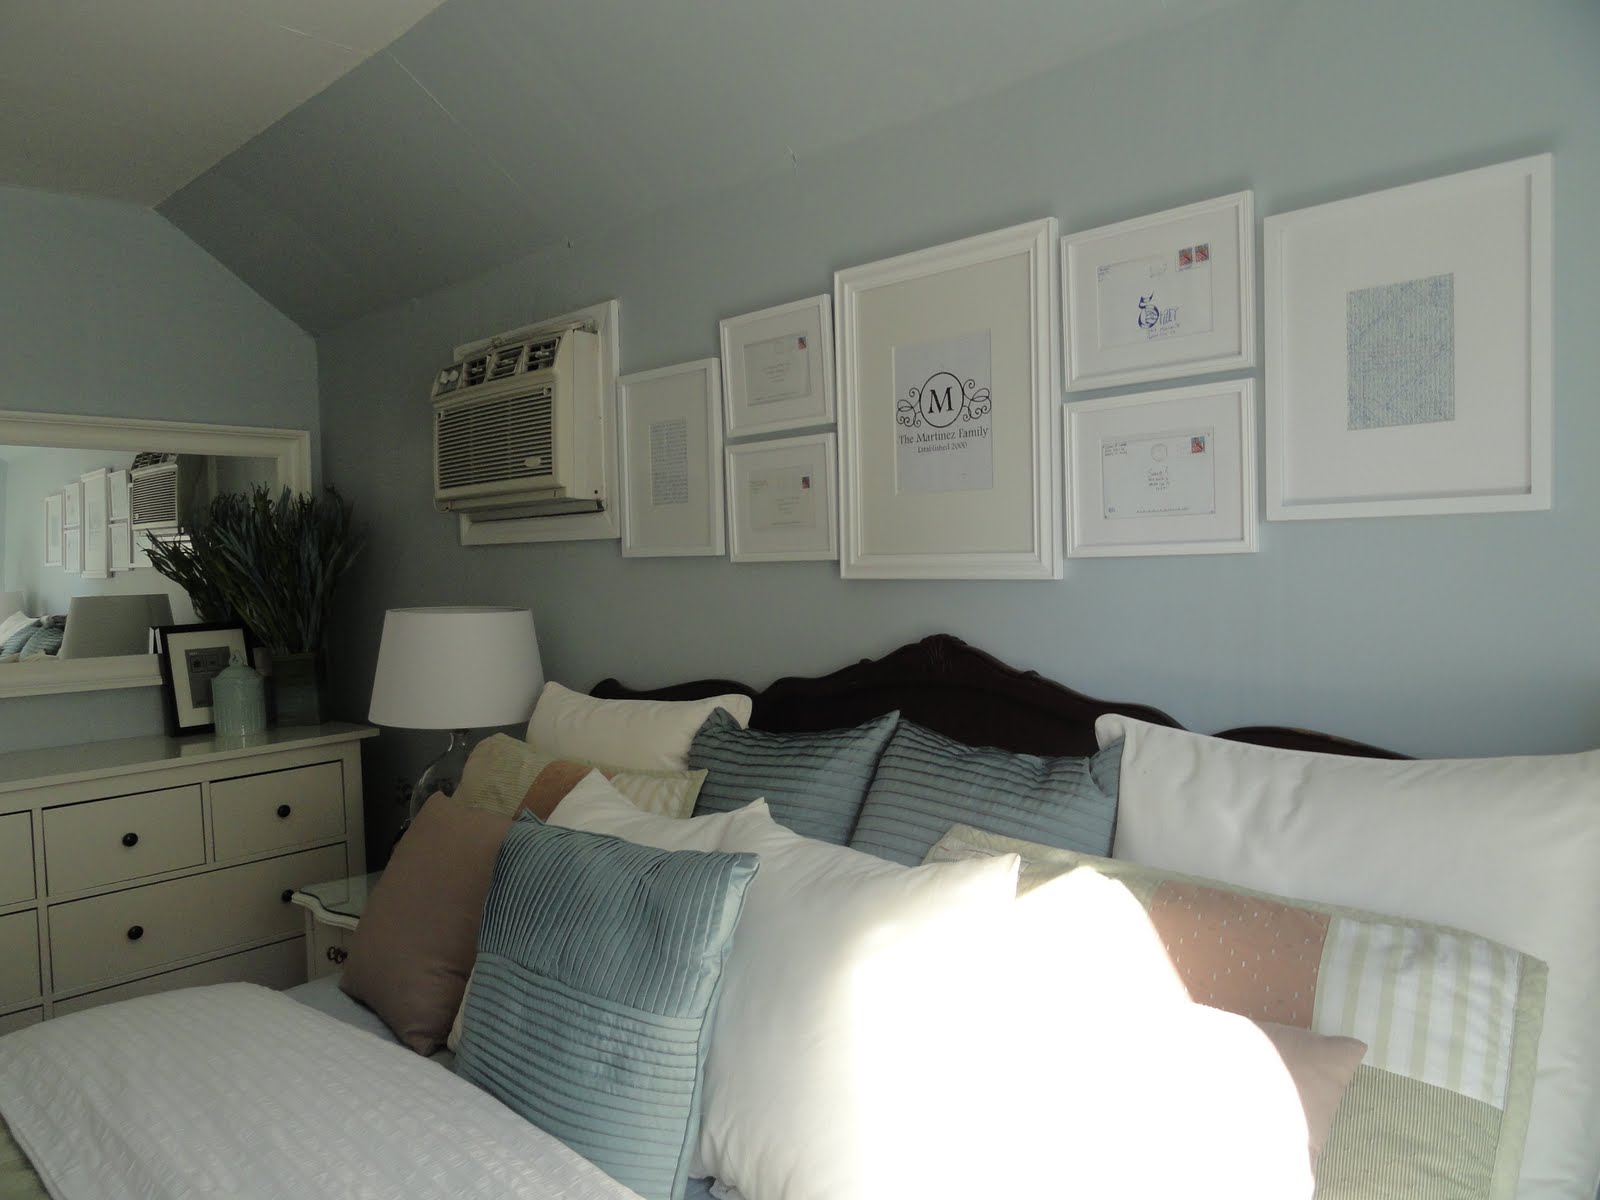
This is what it looked like when I finished.

Once we had the frames hung, we began discussing what we wanted each frame to display. Because it is our bedroom, we both wanted this collection to be about our relationship, our family, and the love we have for one another. My sweet hubby created the print found in the large middle frame, "The Martinez Family, Established 2000".
In each of the four small frames to the immediate left and right of the large frame, we put a time stamped envelope from our days of courtship. The envelopes still hold inside of them precious love letters we wrote to one another.

In the medium sized frame on the far left, we put a letter my husband wrote to me. Notice the paper is still creased from being folded inside an envelope and stored for so many years.

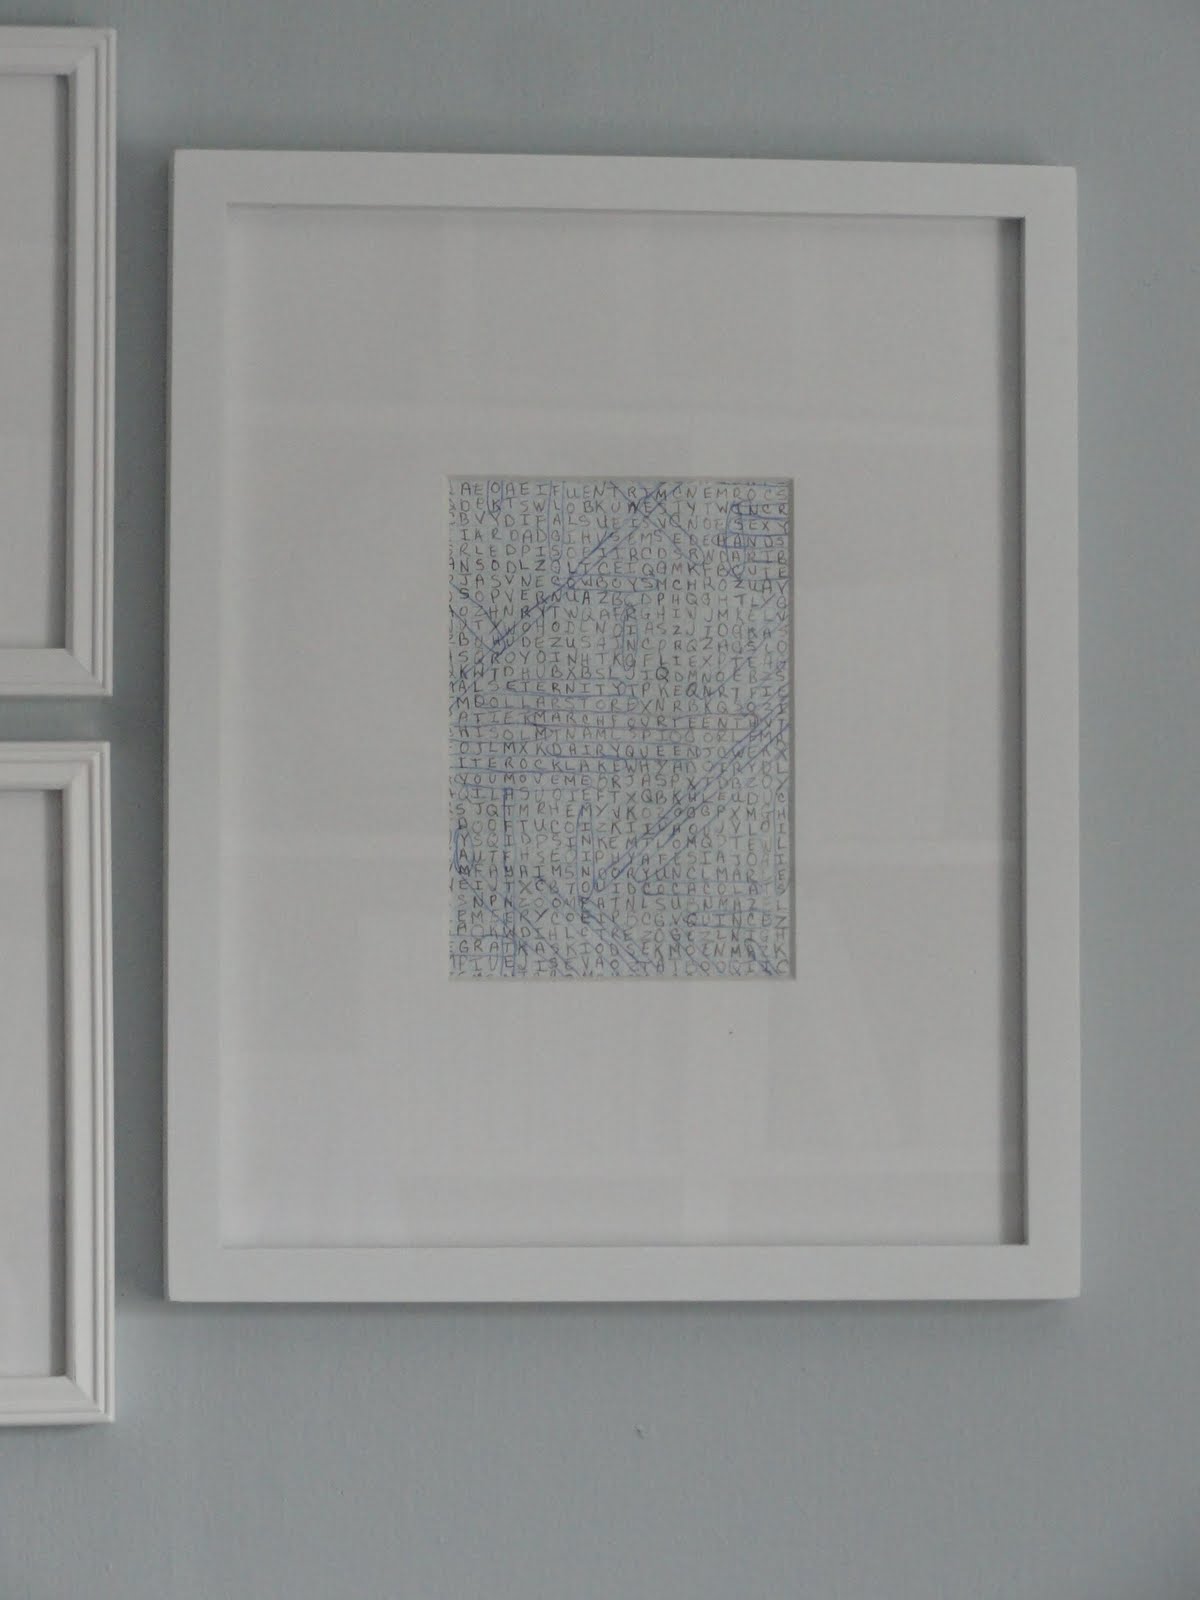
In the medium sized frame on the far right, we put a crossword puzzle that I made years ago for my hubby to solve (back when we were teenagers with lots of free time on our hands :)
Here are few pictures of the completed project, taken from different angles.


And that concludes the long-winded story of the frame arrangement above our bed.
Please see the "Party!" tab beneath the header for links to the parties I've joined. Check them out to see inspiring transformations, renovations, crafts, and more.