Wednesday, March 23, 2011

The Last Mile of the Way

Guess what?! We're almost completely finished with our bedroom!  I've had so much fun sprucing this room up.  There are a few things we still need to change, add/take away and tweak before we can say it is done.  Right now, I'd like to give you a quick sneak peak of the room and also ask your opinion on something.  When the room is completely finished, I will do my big "reveal" and share all the details of where items were purchased, prices, how-to's, etc.

The room went from this...


to this...

to this...

From a different angle, from this...

to this...


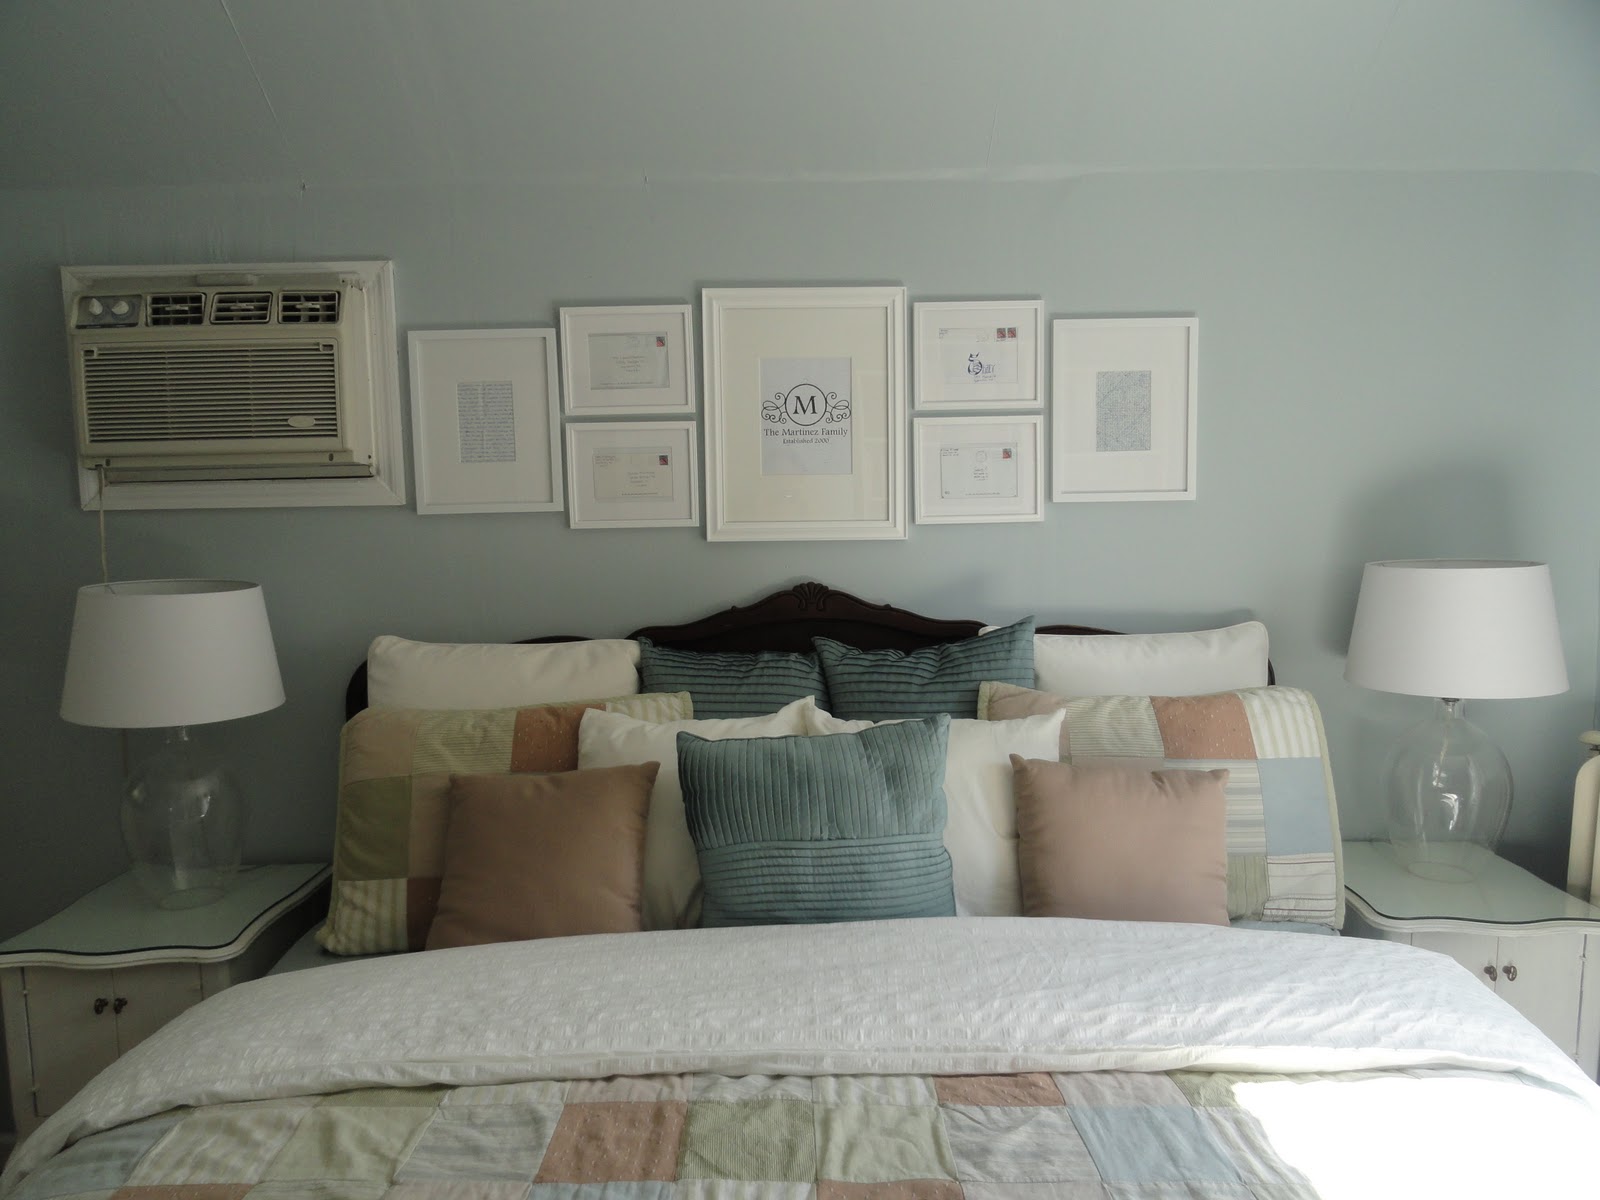
So, what'cha think?  I'd love to hear what you like/don't like, etc.  We've done more to the space than can be seen in the above pics, including window treatments, bookcase arrangements, other wall art, but I'd like to share all that once we are completely finished.

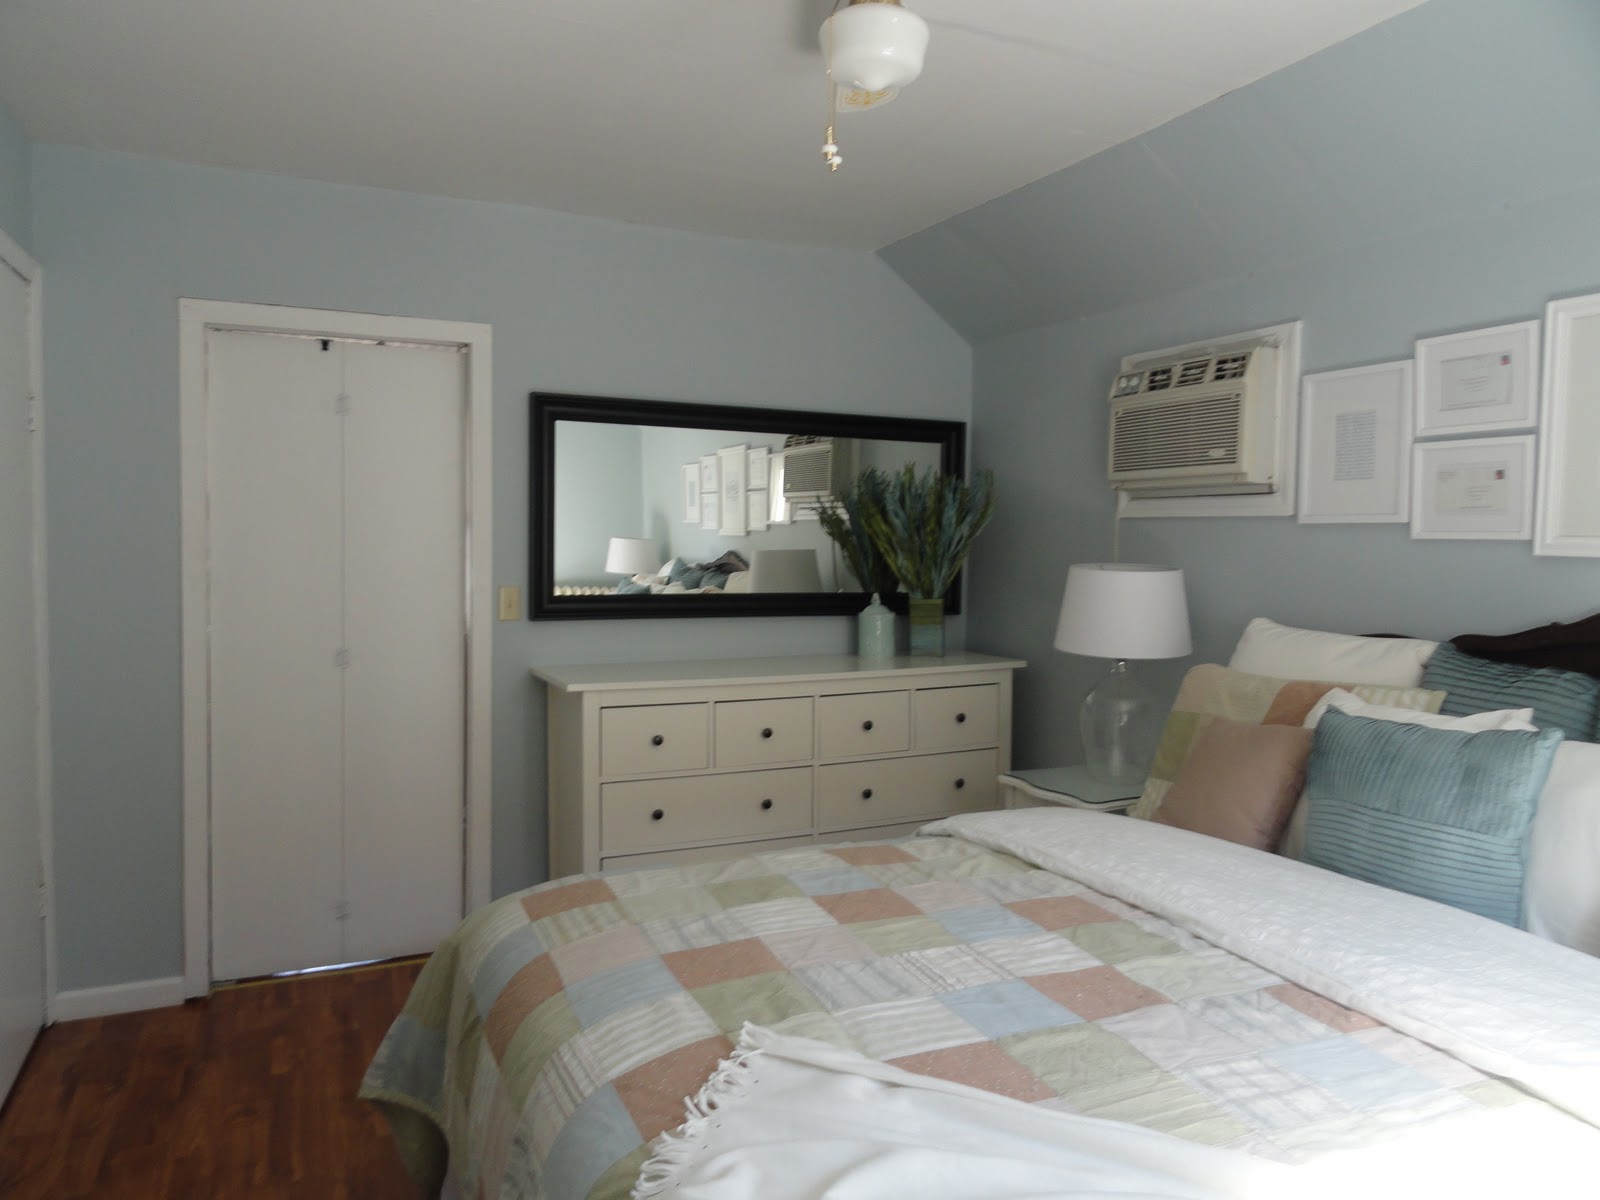
Before I let you go, I'd like to steal a few more minutes of your time and get your opinion.  One of the big decisions we are trying to make right now is in regards to the mirror above our "new" (craigslist) Ikea Hemnes dresser.  After deciding we'd paint our headboard black (still needs to be done), we realized it was important to incorporate the black in other areas of the room.  With this in mind, we purchased the Hemnes Mirror from Ikea in black but, after we hung it, we weren't completely sold on the way it looked.  I feel as though it demands too much of your attention when you walk in the room, drawing your eyes away from what I intended to be the focal point of the room, the bed and frame arrangement above it.  I believe this is because the mirror's framing is too wide.  I would really appreciate your input as to what you think we should do.


 From a slightly different angle...

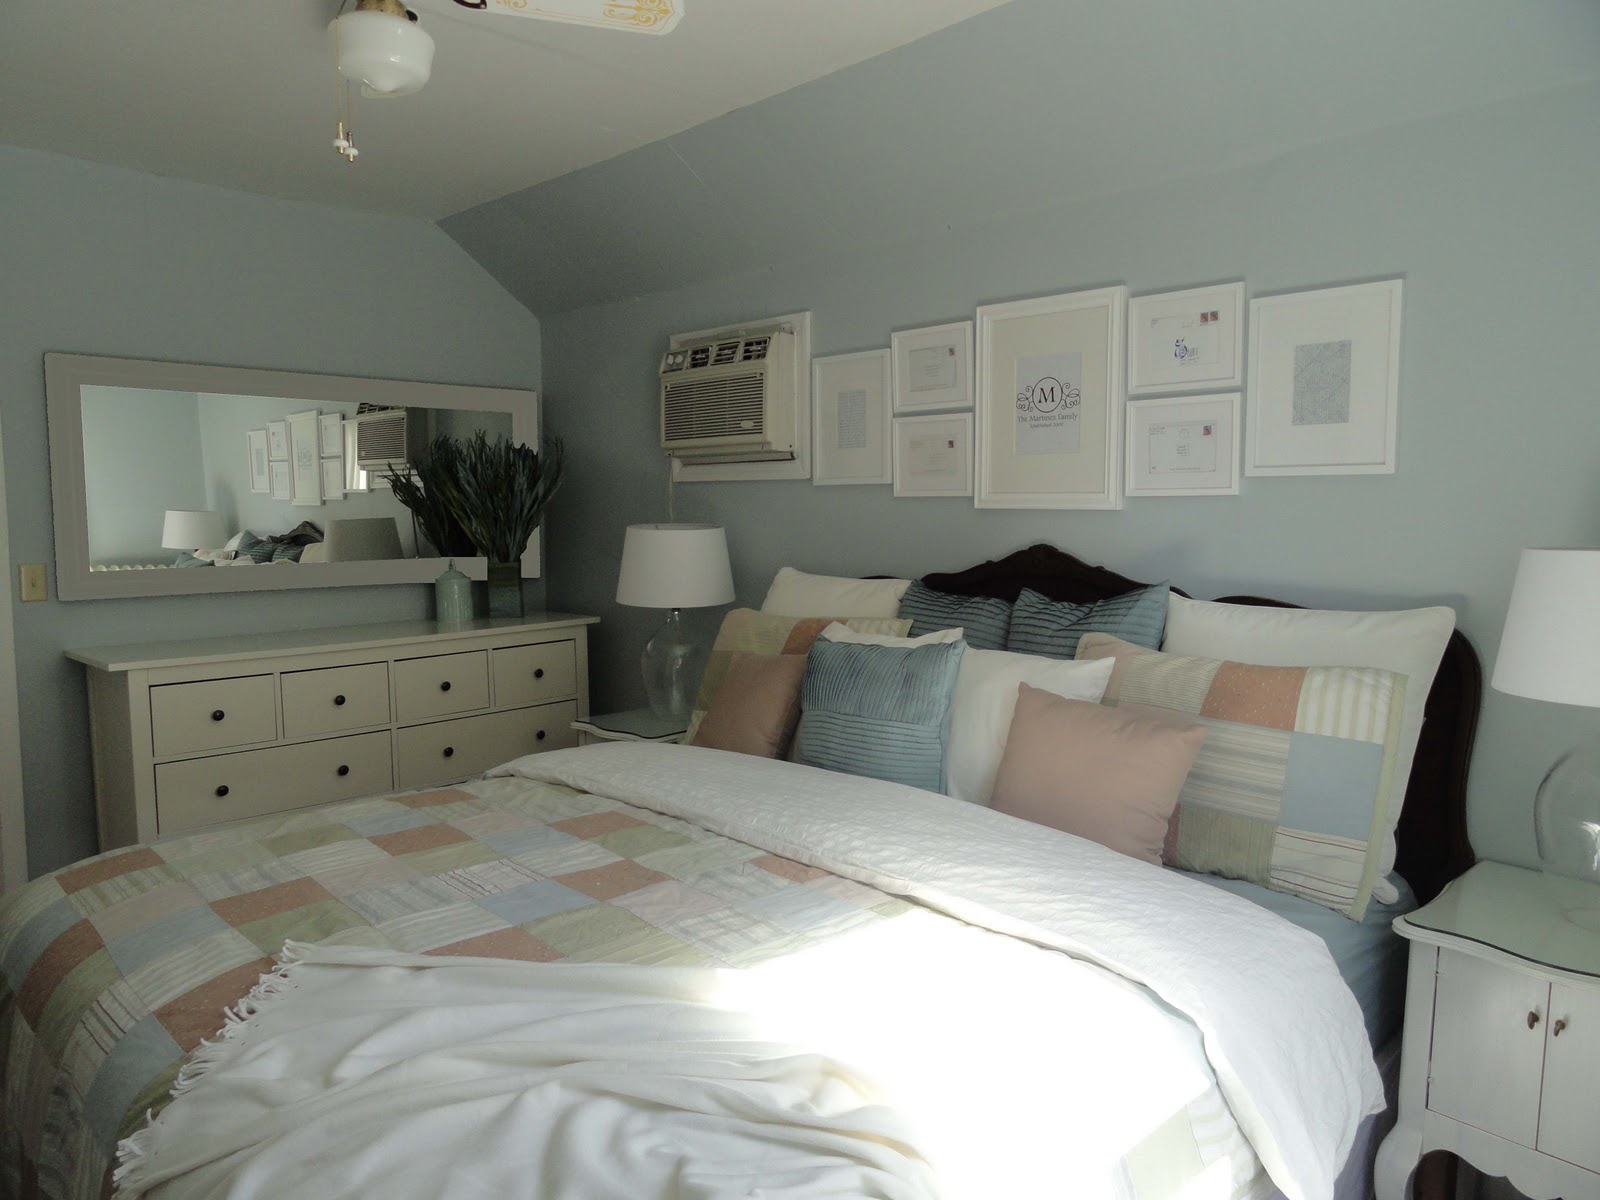
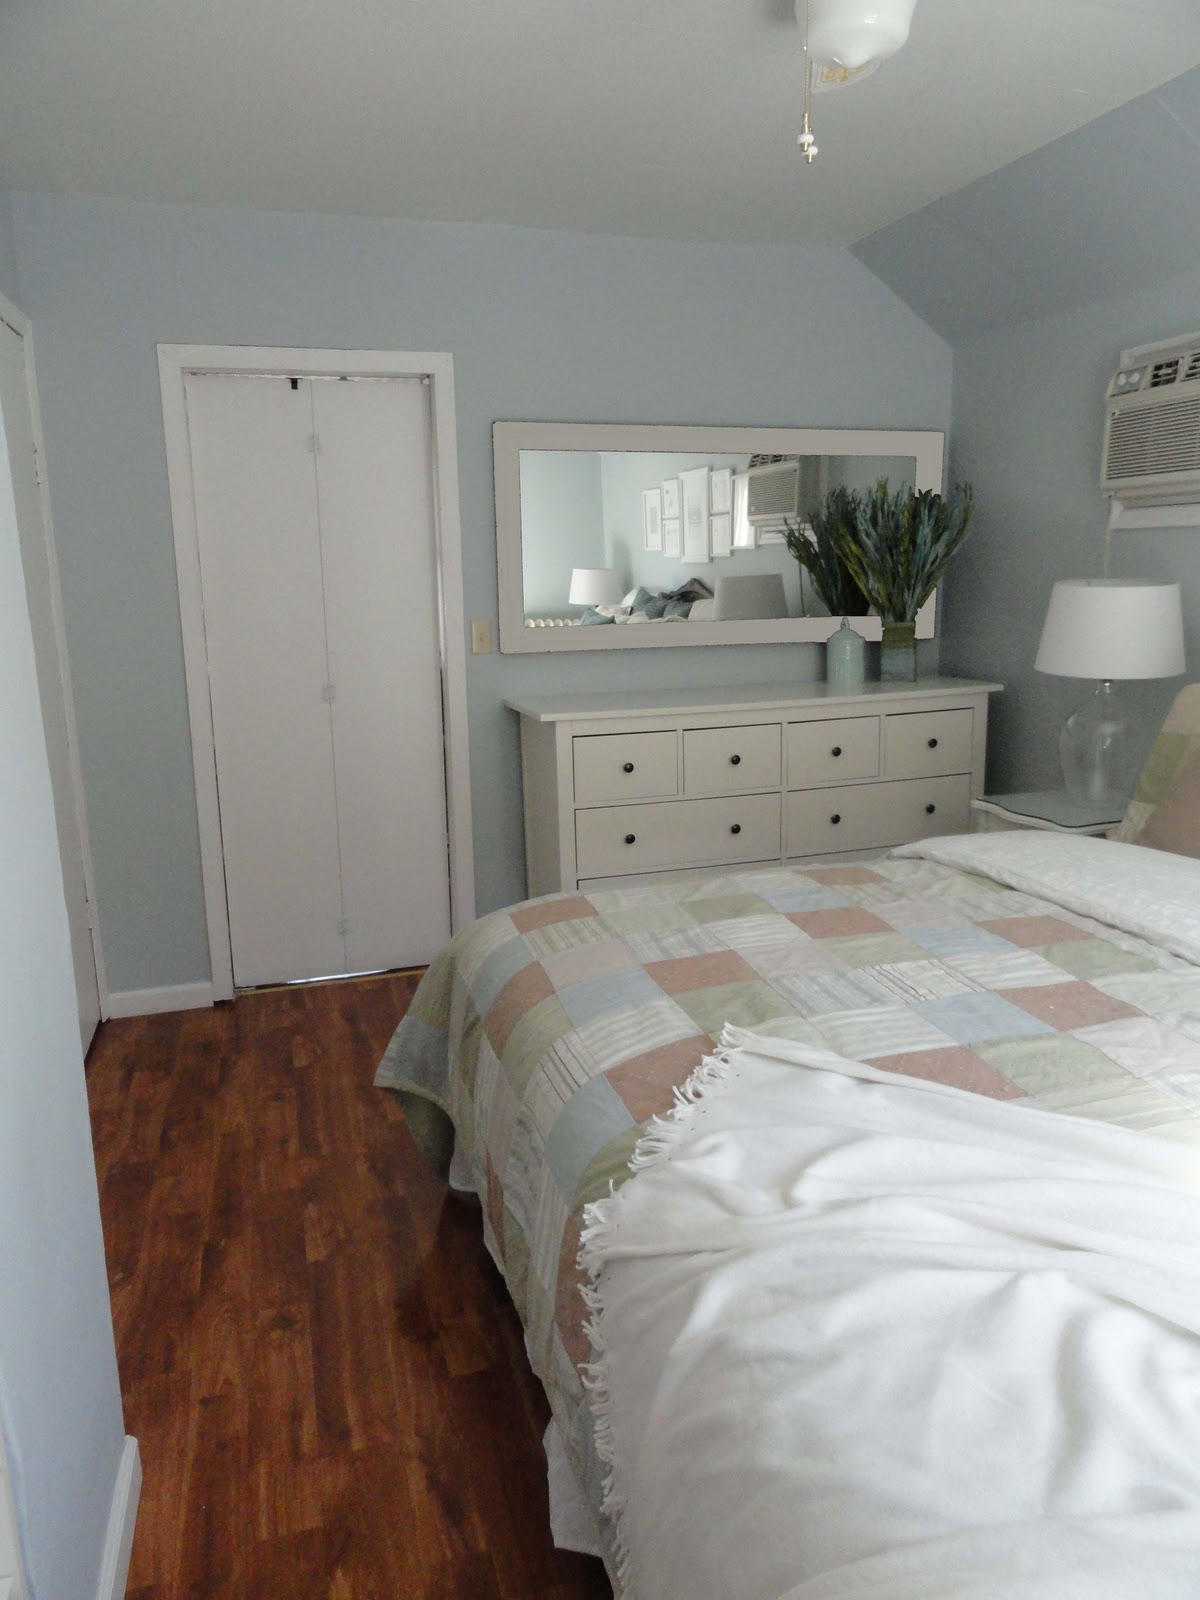
Now I'd like to share the same pictures modified by my husband on PhotoShop to change the black mirror frame to white just so you can get an idea as to what it would look like.  I was reluctant to go with white because I don't want everything to look too matchy-matchy, you know?  :o) (such a sophisticated term huh?)  There is already a lot of white in the room, but now that I see it, I think I might like it.  Ugh.  So torn.


Another option we have is a thinner black frame.  (similar to the Stave mirror from Ikea)  Here again my husband working his photoshop magic.


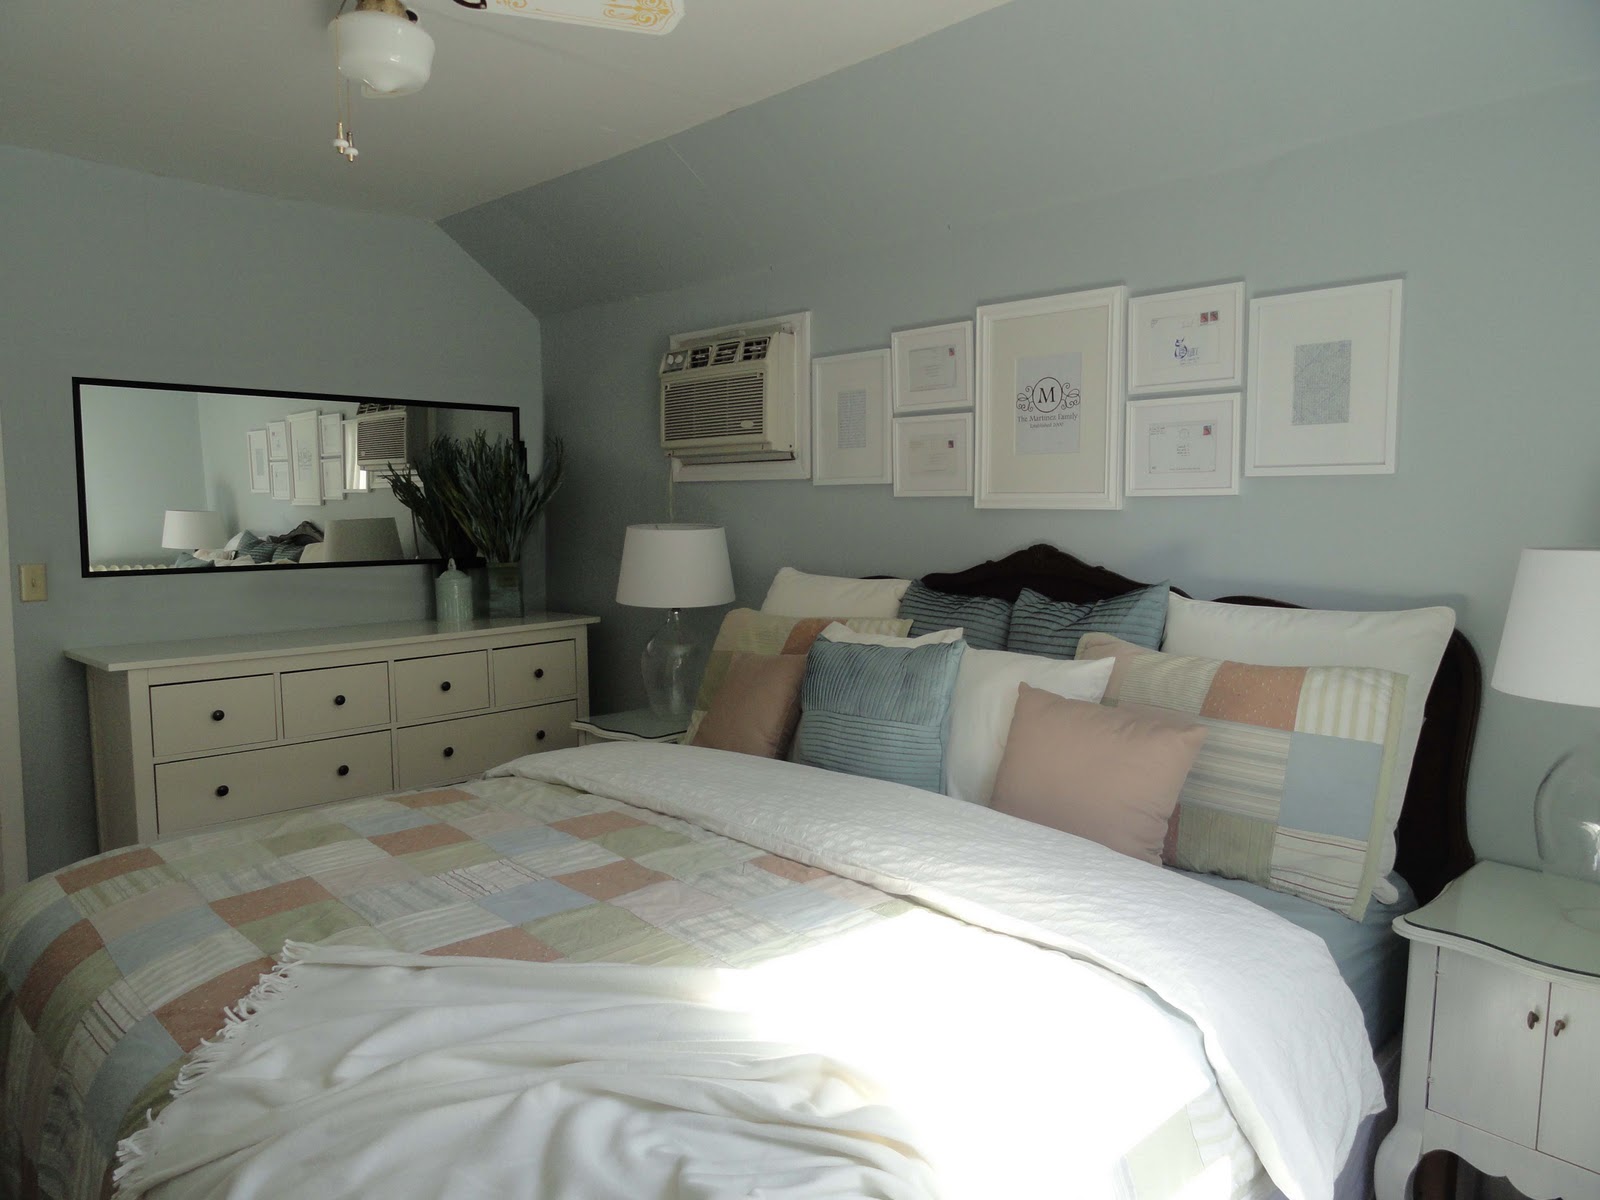
So, what do you think?  If this were your room, which would you choose? 


Sunday, March 6, 2011

Story of the World: Ancient Times- Egypt

I'd like to share a few of the great projects the children did while studying Ancient Egypt.  As I mentioned in this post, we are going through Susan Wise Bauer's book The Story of the World: Ancient Times.


My children are absolutely enthralled with this book.  We were able to check out the audio CD of the book read by Jim Weiss and they listen for hours.  The activity book that goes along with the chapter book has review questions, narration, coloring pages, recommended reading lists, and hands-on project ideas.  We also checked out numerous books from the library, one of which was this book:

which had some really adorable craft ideas. Here are a few of the ones we chose to do.

The Pharaoh's Blue Crown

We followed the directions pretty closely, expect for some minor changes.  Here is a step by step of what we did:

1.  Cut out the following shape from white poster board.  The bottom should fit around your child's head.

2. Draw and cut the following shapes (snake and sun) out of a piece of construction paper (color of child's choice)


3.  Cover the front of the crown with a piece of construction paper and then glue the shapes onto the front.  (excuse the color difference)


4.  Fold the snake back and glue.


5.  Cut out a small rectangular strip from card stock (or poster board) This will go under the head of the snake to hold it up.  Fold it in on both ends.

6.  Glue this little rectangle under the head of the snake and then fold the head of the snake over and glue.


7.  After the crown is complete measure to the child's head and hot glue the back. 

Tah- Dah!  Here is the angry Pharaoh now, ready to lay down the law. :o)

 Here is the fearsome trio.

Those collars they have around their necks were made to resemble the collars worn by Egyptian pharaoh's and nobility to add richness and color to their plain linen clothing. (as quoted in the book)

Decorated Collar


The " how to" on this one are pretty self explanatory.  Measure child's neck/shoulder width  and cut out a U shaped collar from white card stock/ poster board.  Hole punch the inside corner on either side and run ribbon through it in order to fasten collar in the back.  Bring out a few random crafting supplies and allow the child to be creative!  Here are a few pictures of the kiddo's working on their collars.  ( I used my hot glue gun for both projects.)


The last project we did (I know, we've been very busy :o) was to build a model shadoof .  A shadoof was a contraption used by the Egyptians to irrigate their land, a way of moving large amounts of water.


Daddy helped out with this one and the kids loved it!  Check it out!


We've genuinely enjoyed learning about the Ancient Egyptian culture.  It's also been interesting to talk with the kids about modern day Egypt and everything that's currently happening over there.  We've read articles and looked at protest pictures. Their little eyes were wide open the whole time I was describing the situation. 


This has been a learning experience we won't soon forget. Love you all!